DS0683
Select Checks Automation
Problem Definition
ACME Co. is a Connecticut-based ticket software company which connects thousands of live entertainment fans to the vast network of independent sellers that list tickets for sale on the TicketNetwork Online Exchange.
ACME Co. utilizes Dynamics GP as their ERP system. While Vendor’s Invoices are held within GP, it is their POS system which details which Vendor Invoices should be paid on a weekly basis. The POS system provides a list of brokers (Vendors) and documents to be selected for payment. The ACME Co. A/P group must manually select each document in the Select Checks window. This manual process takes hours to complete each week.
ACME Co. requires a solution where they can import a .csv file obtained from their POS system directly into GP to auto-create the weekly check batch. The .csv file will contain the following columns:
- Vendor ID
- Document Number
- Amount
Design Features
Select Checks Filter Setup
Using the standard functionality within the GP PowerPack Select Checks Filter module from WilloWare, the user will create a Filter ID entitled IMPORT. The filter must match the example below which has been setup to include all Payables Documents where the Due Date is less than 12/31/9999.
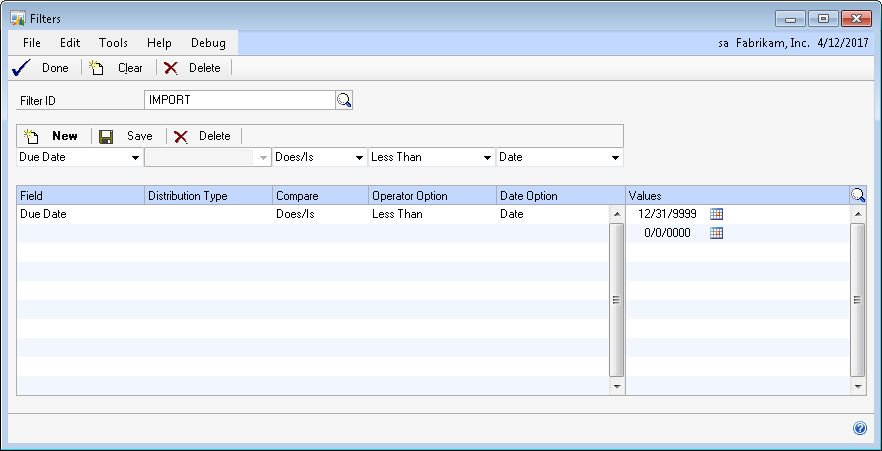
PLEASE NOTE: The IMPORT Filter ID will be utilized in the Select Checks Filter Import Process. Setting up or updating the IMPORT Filter ID so that it does not exactly match the above screen shot will impact the enhancement’s ability to import documents.
Select Checks Filter Integration
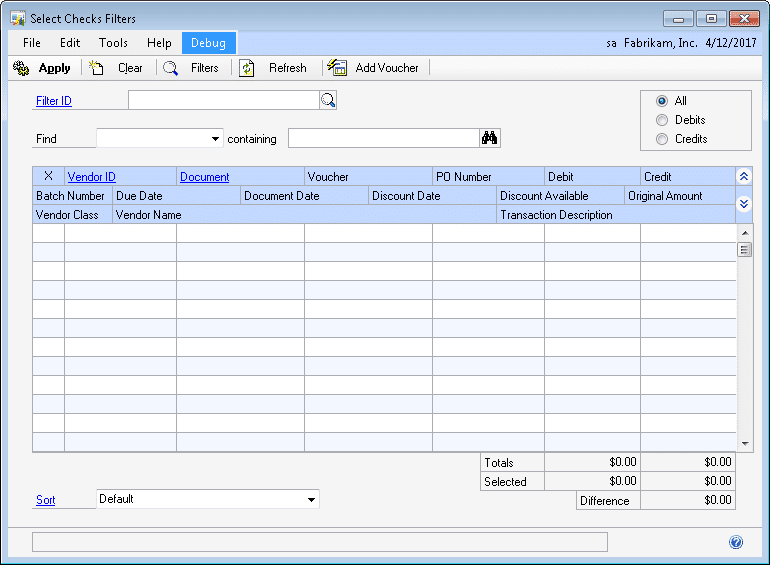
The user will enter the Select Checks Filter window.
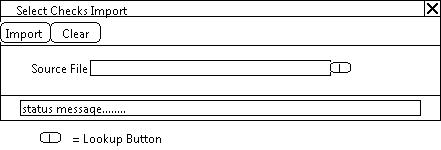
The user will then navigate to AdditionalSelect Checks Import to open the Select Checks Import window. The Select Checks Import window is used to select a Source File to import:
| Field | Function |
| Import Button | The user will click on the IMPORT button to initiate the import process. A Source File must be selected prior to clicking the IMPORT button.
Please see below for details on the Source File and Import Process. |
| Clear Button | The user may click on the CLEAR button to clear the window. |
| Source File | The user will select a file to load into Dynamics GP. Please see below for details on the Source File. |
| Status message | During the import process, a status message will display. The status message will read DONE when the import process has completed. |
Source File
The Source file will always have the same format and will be a .csv file. The first row will contain headers. Documents to be included in the Select Checks Filters batch will begin in row 2.
- Column A will contain the Vendor ID. ACME Co.’s Vendor IDs are 5 digits in length. Column A will contain 1, 2, 3, 4, or 5 digits. Records with 1 digit should have 4 zeroes added as a prefix; Records with 2 digits should have 3 zeroes added as a prefix; Records with 3 digits should have 2 zeroes added as a prefix; Records with 4 digits should have 1 zero added as a prefix. Records which are 5 digits in length should not be altered.
- Column B will contain the Document Number to be included in the check batch. This is the GP Document Number, not the GP Voucher Number.
- Column C will contain the Amount to be paid. The Source file will only contain Payment Documents (Invoices, Finance Charges and Misc Charge documents). No Credits or Return documents will be in the Source file.
Import Process
When the IMPORT button is clicked, the enhancement will do the following:
- Get the first record in the Source File:
- Update the Vendor ID to 5 digits (as described in the section entitled Source File),
- Validate that the Vendor ID/Document Number combination exists as an open Payables document which is a Payment Document Type (such as Invoices, Finance Charges and Misc Charge documents) with a current transaction amount not equal to 0. If this is not true, the enhancement will move to the next record in the Source File.
- Validate the Document’s current transaction amount is equal to the amount provided in Column C. If the amount does NOT equal, the Document will still be selected to be included in the check batch, however, the Document number will appear on the Error Report.
- Import all validated records into the Select Checks Filters window. All Documents will be marked. The Filter ID of “IMPORT” will be used during the Import Process.
- Print an Error Report if any records in the Source File could NOT be imported. The Error Report will contain the following the fields:
- Vendor ID
- Document Number
- Error Message
The Error Message which prints will be one of the following:
- Vendor ID/Document ID does not exist
- Document Amount does not match file
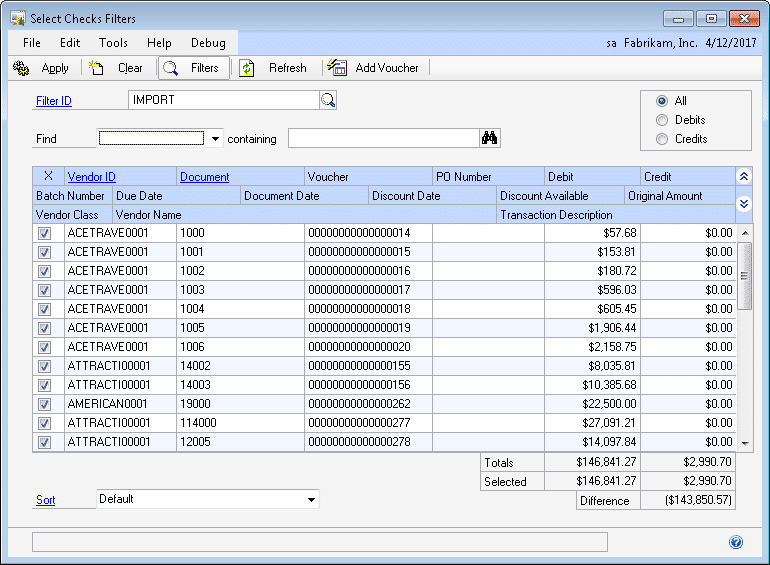
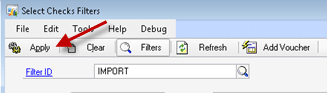
The user will then utilize the Select Checks Filters standard functionality to complete the Check Batch process. The user may de-select Document numbers and/or add additional Vouchers to the selection. When ready, the user will select the APPLY button which will return them to the Select Payables Checks window:
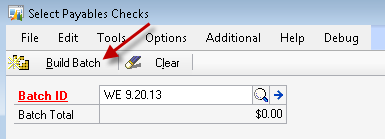
The user will then select the BUILD BATCH button on the Select Payables Checks window to build the Check Batch. Only those documents marked in the Select Checks Filters window will be added to the batch.
PLEASE NOTE: A Document may appear marked in the Select Checks Filters window after the import has completed. Until Documents have been added to the Check Batch by clicking on the BUILD BATCH button on the Select Payables Checks window, another user may create a Check Batch or create a Manual Check for the Document. It is recommended that ACME Co. implement internal process controls to ensure that other users are NOT creating Check Batches or Manual Payments as the enhancement will NOT prevent users from doing so.